August 25, 2015

Refrigerator Pickles

Cucumber have the unique ability to be completely gross
normally, yet super delicious pickled. Because, witchcraft.
If there's one thing that everybody who's gone shopping with me at 2 in the morning knows, it's that I love pickles. Also, I have strong feelings on self-checkout kiosks. But mostly it's the pickle thing. At their best they're refreshing, salty, crispy, and about 5 different kinds of awesome. And also about 5 dollars for a little jar of cut-up cucumber. And even though I love pickles, that's just too much. Fortunately, after some basic research, I found out that I could make my own pickles, without too much of a hassle, for a fraction of the price. And nothing says delicious pickles like fiscal responsibility.

Ingredients:

1.5 Cups Water
1.5 Cups White Vinegar
2.5 TBSP Salt
Cucumbers, or other junk (Turns out you can pickle pretty much anything. Cucumbers are awesome, but you got carrots? You can pickle em. You got cauliflower? You can pickle it. You've got a side of brisket? Oh, you better believe you can pickle it)
One bunch fresh Dill
4 cloves Garlic
1 tsp Mustard Seed
1 tsp Black Peppercorns
1 tsp Celery Seed
1/2 tsp Crushed Red Pepper

There are a number of different kinds of pickles, some of which are prepared in slightly different ways. These are refrigerator pickles, which means that their brine has vinegar added, and they do their magic in the fridge. As opposed to pickles that are straight-up fermented in a salt brine with natural bacteria, which requires a couple weeks, some specialized equipment, and a higher tolerance for gross. All in all, refrigerator pickles seemed to be the way to go to ease my way into the pickling world, so that I can inevitably betray and conquer it. What was the point I was trying to make before I fell down the endless hole of exposition that is this paragraph? Oh yeah! There are lots of different pickles, and if you want to experiment with your own flavors, go for it. For instance, I made a batch alongside this one that had fresh jalapeƱo and ground ginger in it. This recipe is a good starting place, but get creative. The sky's the limit! Literally. Don't make pickles in space (I'm looking at you, Hungarian astronauts).

The first thing you're gonna need to do is put your Water, Vinegar, and Salt together in a pot, and boil them. Yes, your kitchen will smell like vinegar for an hour or so. That's kind of unavoidable. The good news is your kitchen won't smell like whatever it currently smells like, so for once you won't feel the crippling shame of being a secret food-hoarder. Anyhow, once your brine is made, turn off the heat, and get choppity chopping. Peel and slice your Garlic, and cut your Cucumbers into spears, which is pickle for quarters. Is this because the original pickles were used as weapons by a tribe of prehistoric proto-chefs who were very quickly wiped out by the tribe next door? Yes. That's exactly the reason.

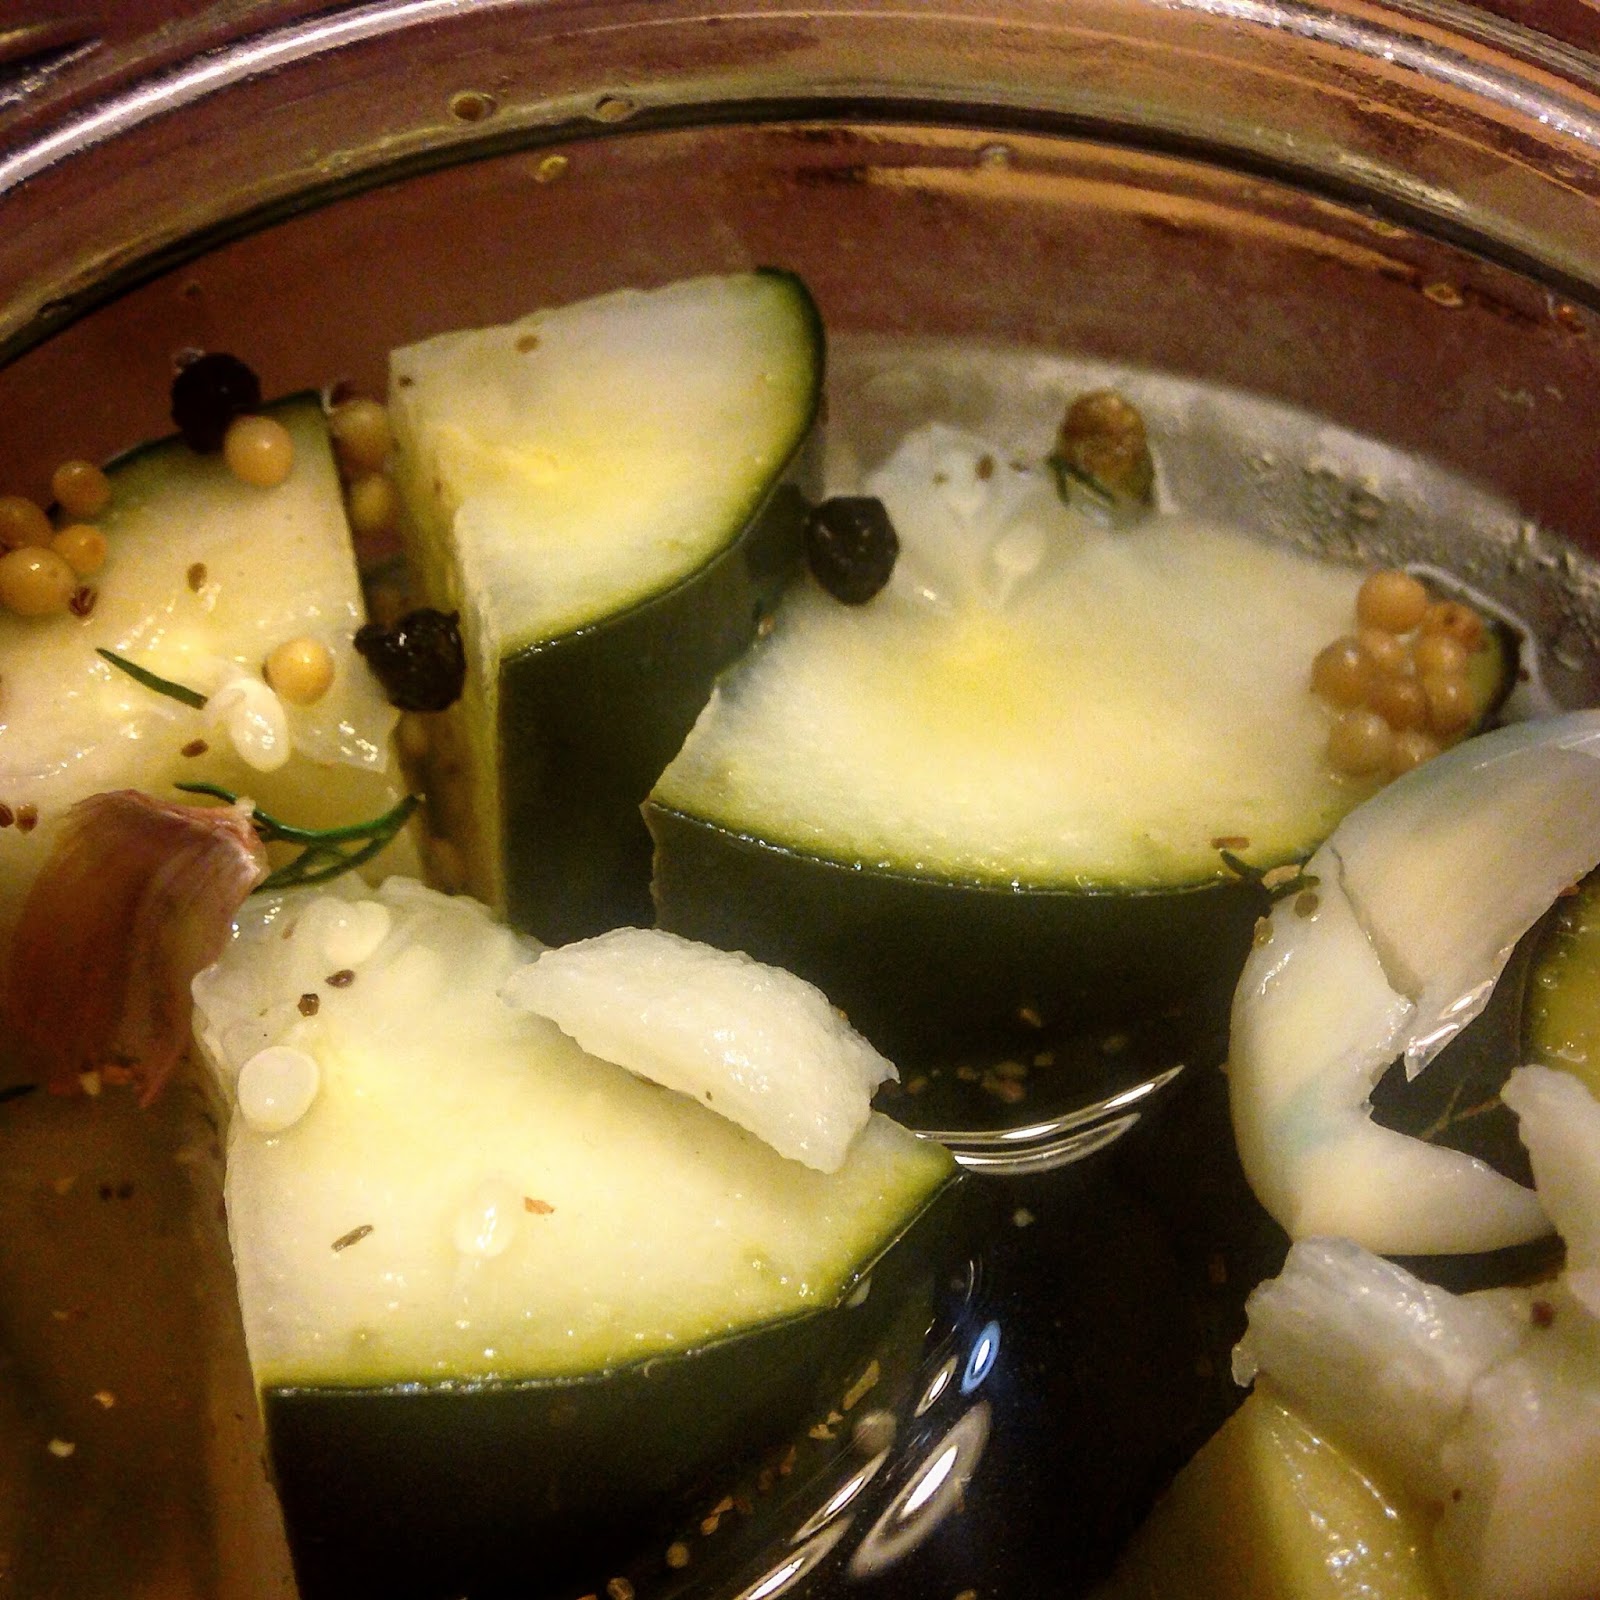
Protip: if you don't want your hands to smell like pickles all
day, refrain from artfully arranging your pickles in the jar.
Now it's time to fret about what the hell you're going to store your pickles in. If you're a badass like me, you can wash and reuse some pickle jars from your last late-night pickle shopping adventure (Because nothing says "badass" like fiscal responsibility). Failing that, get a big bowl. If even that it too much for you, get a drinking glass. And if you can't manage that, give up on pickles for now. You've got bigger problems to work on. Regardless of what sadness-level your chosen pickle vessel is, now is the time to fill it with crap. Unless you're using multiple jars. In which case it's time to fill them with crap. So shove in your Dill, Cucumbers/mystery vegetation, Garlic, Peppercorns, Mustard Seeds, and Celery Seeds. If you want to be fancy, you can delicately layer these ingredients. Or you can haphazardly throw them in without giving a damn. You know, like a man. Regardless of how effeminate your pickle stacking is, cover all that nonsense with your brine. Wait for it to cool down to room temperature, tap it a couple of times to get the air bubbles out, and you've got pickles! Eventually! Cover them, and shove them in the fridge for at least 48 hours. Personally, I'd say a week is even better, but 48 hours is your minimum. Your patience will be rewarded. Probably.

August 18, 2015

Jasmine Rice Salad

Sometimes I wonder if the grocery store employees mind me
posing their items and taking pictures. Then I drink to forget.
I've been cooking a lot using lemons and mint lately. That might be because it's summer and those are pretty damn refreshing flavors. It might be because there was a sale on mint and lemons. I've heard it both ways. The point is that I've got lemons and mint coming out the wazoo (Gross) and I'm sick and tired of making drinks and desserts. So I decided to make a rice salad that's awesome enough to please you and whatever vegetarians, or even vegans, you've been foolish enough to allow into your life.

Ingredients:

2 Cups uncooked Jasmine Rice (Jasmine Rice is an aromatic rice that originated in Thailand. Like Redbull. Or, apparently, NBA uniforms. Which is pretty messed up if you think about that acronym)
4 Cups Regular Old Water
3 Green Onions
3 Lemons
2 Cups Peas
1/2 Cup Pecans
1/2 Cup fresh Mint
1/4 Cup Olive Oil
1 tsp Salt
1/4 tsp Garlic Powder

The first thing you need to do is decide whether you're going to use fresh, beautiful, English Peas, or frozen garbage peas. If you elected to use frozen peas, congratulations! We can be friends. Well, maybe. Friendship isn't excluded based on your pea choice. That's the best I can offer. Because let's be honest. Frozen peas really aren't that bad. Some frozen vegetables always taste like freezer-excrement (I'm looking at you Lima Beans), but not so much with peas. And let's continue to be honest. Fresh peas are a hassle, especially when the dish isn't exactly pea-centric. They're an ingredient, not the belle of the ball. So just sit those frozen peas on a counter and let them defrost.

In the meantime, we're gonna need to cook some rice. There are two main schools of thought for how to boil rice. One is to put the rice in the water, and then bring it to a boil. The other is to boil your water, and then add in the rice. Like a communist. Regardless of your heathen methods of rice-cookery, you're gonna get the rice boiling in a pot along with your Water, Salt, and the zest from 1 of your Lemons. Clamp a lid on it, reduce the heat down to low, and let it cook for about 18 minutes. I say about because the specifics of your burner, pot, climate, and any gypsy curses you've been afflicted with could all play a part in slightly altering the cooking time. So keep an eye on it, and use your best judgement.

That's pretty enough to make me consider going vegetarian.
Upon consideration: meat is awesome. Consideration over.
While this is going down, you're gonna chop up your Green Onions, your Mint, and your Pecans. The Onions and Mint are pretty self-explanatory. Just dice them into itty bits. Cutting nuts is always a hassle though. Except in this case, because we're using Pecans. Pecans are like the shiftless hobos of the nut world. They don't have community, so once the times get hard and and the knife starts chopping down, they just crumble into bits. By now, your Pecans should be sad and broken, and your rice should be cooked. Let the rice cool down to room temperature, and add in the Green Onions, Peas, Pecans, Mint, Garlic Powder, Olive Oil, and the juice from your Lemons. Cover it and store it in the fridge for at least an hour to let all the flavors get to know each other. play some awkward icebreaker games, fall in love, and know heartache. And then enjoy! Bonus points if you remembered to check that your peas were defrosted and avoided costly dental work!

August 11, 2015

Lemon Sorbet

"Lemon" is ancient Etruscan for "unsuspecting victim." 
I don't know if you've been paying attention, but it's summer out there. And the best part about summer is frozen desserts. Well, no. The best part about summer is day-drinking on the beach without an ounce of shame. But close after that, is frozen desserts. The problem is, that every dumb recipe under the sun involves an ice-cream maker. Which is expensive, takes up space, and is a uni-tasker. And maybe I'm crazy, but I think that when they first started making sorbet, gelato, and ice cream, thousands of years ago, they didn't go shopping at Williams goddamn Sonoma first. So, in the words of my ancestors, "screw that noise."

Ingredients:

2 cups Water
2 cups Sugar
6 Lemons
1 average sized hunk of Ginger
1/3 cup fresh Mint
1 average human-sized pinch of Salt

This recipe is actually pretty simple. Which isn't the same thing as easy, but it's still something. Don't look gift simplicity in the mouth. FDR said that, and it's as true now as it was then. Now the first thing you're gonna need to do is zest the crap out of 3 of your lemons. Make sure that you only get the yellow lemon peel, and not the white pith underneath it. Because the pith is bitter and depressing, whereas the peel/zest is flavorful, awesome, and...not bitter. Peel your ginger, and throw it into a pot along with the zest from your Lemons, your Water, Sugar, Mint, and Salt. Bring it to a boil over medium heat, stirring until the sugar is fully dissolved. For those of you paying attention, yes this is a simple syrup, similar to the ones we've used almost every single time we make a drink. It's found a new dessert-y purpose! Anyway, once your sugar is dissolved, let the syrup cool all the way down to room temperature, and strain it. Bonus points if you strain it by hand when it's still hot, securing your masculinity the old-fashioned way, via untreated burns.

Isn't all that hard work worth it? ISN'T IT!? It probably is.
Once your syrup is strained and cooled, add in the juice from all 6 of your Lemons, and throw it in the freezer. And then your job is done. Hah! Just kidding! Wouldn't it be weird if life was easy, and things weren't always a struggle? Take your mix out of the freezer every 25 minutes or so, and whisk the hell out of it. This will break up larger ice crystals that are forming, leave you with a much smoother product, and expunge evil humors from your hands, via centrifugal force (Note: once the evil humors have left your body, consult your local phrenologist to see how this has affected your character)  After a couple of hours, the mixture will start to solidify, giving you false hope that you're almost done. It does this to mess with you because it's a jerk. After a couple MORE hours, it will thicken further, and you can start convincing yourself that it's good enough. Or, alternatively, you could just ignore this part entirely, and end up with a big giant block of sweet lemon ice. Which isn't the same thing, but is still awesome. If you ARE going to take the lazy way out, be smart, and freeze it in ice cube trays so you've got bite-sized awesomeness. Bonus points if you thought ahead and stuck toothpicks in them so you have tiny little popsicles. And finally, negative points for having forgotten all of this, and ended up with an untenable mess of solid ice in the bottom of a bowl, ruining little Timmy's birthday party along with your chances of reconciling with your wife. Happy summer!


August 4, 2015

Brown Sugar Cinnamon Cookies

This recipe is pretty much just melted brown sugar. Enjoy!
This past week, Blogger, and their parent company Skynet, sent me a dire warning about how they were going to use cookies to determine the age, gender, level of education, and celebrity crush of everybody who views my blog. They then told me that if I didn't confirm that there was an automatic warning appearing to users from the EU I could be in violation of various Laws, and be subject to EU justice. Which I'm assuming is being forced to use the Euro. So, in honor of all of the cookies that are even now burrowing their way into your privacy, I thought I'd make some delicious cookies that are less morally ambiguous. Cookies you can use even after you've given up on the Internet, and are living off of the land in a dumpster somewhere.

Ingredients:

2 Cups All-Purpose Flour (Yes, the type of flour is important. No I don't want to get in to why. Go bug Alton Brown)
1.5 Cups Dark Brown Sugar
1/2 Cup Coconut Oil
2 tsp Vanilla Extract
1 tsp Ground Cinnamon
1 tsp Corn Starch
1 tsp Baking Soda
1/2 tsp Salt 1 Egg
An Unspecified Amount of potentially Fancy Sugar (If you can get Pearl Sugar or Sanding Sugar go for it. It will be awesome. Second choice option is Turbinado. Failing that, because fancy crap is hard to find, use regular old sugar. Which is what I did. Because fancy nonsense is hard to find sometimes.)

The first thing you're gonna need to do is get some bowls. I know, class wars have started before over the ownership of multiple bowls, but suck it up. Because you're gonna need seperate bowls for your dry goods and your wet goods. At least at first.. So put your pitchforks and beets away, and find some damn bowls. Done? Awesome. Now whisk together your Flour, Cinnamon, Corn Starch, Salt, and Baking Soda in one of your elitist bowls. Take your second bowl, and fill it with your Brown Sugar and your Coconut Oil, and whisk until they're smooth. How smooth? This smooth. Then add in your Egg, and Vanilla, and combine it all into one homogenous glop (Homogenous Glop: The worst grunge band ever). Take your glop and pour it into your bowl of dryness, and stir to combine. You can stir with a spatula if you want. I prefer using my hands, partially because I'm a child, and partially because it lets me mix a little more efficiently. Which means I mix for a shorter period of time. Which means less gluten forms. Which means that the cookies will have a better texture. Which means you should have listened to me in the first place, 4 "which means" ago. Once your dough is formed, cover your bowl and refrigerate it for at least 1/2 an hour.
Objects in picture are even more delicious than they appear

When you're ready to bake your cookies (Which should hopefully be sometime soon, since your looking at a cookie recipe), take the dough out of the fridge. If you've let it sit there for more than a couple hours, you might have to let it warm up before you can work with it. Grease a cookie sheet, and form your dough into balls, about 1 inch in diameter. If you don't have your protractor with you, give it your best guess. Take your Sugar, and pour it in a bowl. Then take your dough balls, and plop each one in your sugar bowl to coat it with sugar. Place your balls on your baking sheet, being careful to give each one a LOT of personal space. When these things cook they are going to seriously spread out, so unless you want one giant cookie, give them some breathing room. Actually, that doesn't sound bad...well regardless. Throw the cookies in a 325 degree oven for about 15 minutes. They'll still be a little soft and gooey when you take them out of the oven, but they'll toughen up as they cool down. And that's it! Cookies! Delicious delicious cookies, that I am in no way encouraging you to make while camped outside of the Google corporate offices picketing their efforts to learn everything about everyone in a totally not creepy way.